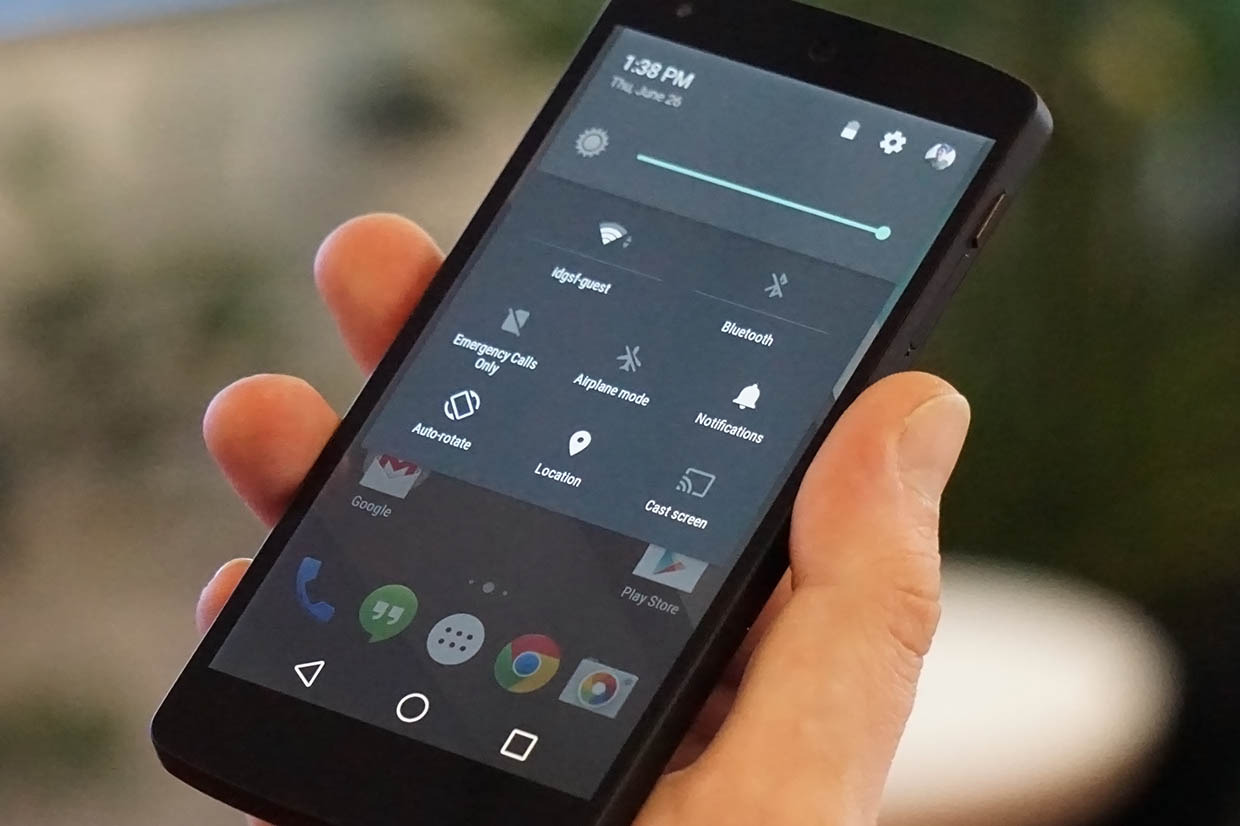
After looking at the Android L preview you must be thinking of flashing it.
You must be afraid of bricking it, or even loosing your warranty.
Actually it is not that difficult.
To help u all We are going to give u step by step instructions so that you dont have to worry about.
*NOTE- Though we are giving you all the steps if u do something wrong and if you are not able to follow the simple instructions and brick ur device we are not responsible.
Don't worry steps aren't that difficult, Just read carefully and follow the steps.
Things to remember :
1. This will erase the data from your Nexus 5 or Nexus 7 so please backup everything to your computer (like photos, etc.) and make sure everything else is synced with your Google account).
2. These are previews and not fully functional, expect bugs.
3. I have used Windows for this procedure as it’s what most will have to use. You can follow these same steps though for Mac (with changing the syntax for typing in commands).
4. Battery must be charged more than 70% for safety.
4. Battery must be charged more than 70% for safety.
Enabling the Developers Options :
1. On the device, go to Settings > About Phone.
2. Tap on Build Number repeatedly until it says you are a developer.
3. Hit back.
4. Tap on Developer Options.
5. Turn on USB debugging.
Drivers, android SDK and Android L previews :
1. Download the SDK Manager, install it, and open it.
2. Under tools, select SDK Tools, Platform-tools, and Build-tools.
3. Select everything under Android L Developer Preview section and click Install packages.
4. Accept the Licensing Agreement for all of the packages and click Install.
5. Download the correct version of the preview for your device From below.
Android L Preview Images
Android L Preview Images
6. Right-click the file you downloaded and select Extract All and extract it to your Desktop.
7. Take all of the files that are inside the folder and copy them to the C:/android-sdk/platform-tools/
Flashing the Android L :
1. Plug the device in via USB cable.
2. Open the folder android-sdk/platform-tools.
3. Hold shift on your keyboard and right click in a blank area in that folder, then select Open Command Window Here.
4. Type adb devices and you should get a serial number back.
If you did get a serial number, continue.
If you did get a serial number, continue.
5. Type the following into the command prompt with hitting enter at the end of each line:
adb reboot bootloader
adb reboot bootloader
6. When the device reboots into fastboot mode, type the following into the command prompt
with hitting enter at the end of each line:
with hitting enter at the end of each line:
fastboot oem unlock
7. Say yes on the device and this will unlock the bootloader (and erase your data). Then the device will reboot.
8. When it reboots, type the following into the command prompt with hitting enter at the end on each line:
flash-all.bat
9. This will now begin to flash the Android L image to your phone.
First boot will take some time say 5mins stay calm sit back let it boot.
First boot will take some time say 5mins stay calm sit back let it boot.
0 comments :
Post a Comment